Peugeot Rifter I Spare Wheel and Tyre Repair Kit
Hello and welcome. In this post, we'll look at what to do when you get a flat tyre on your Peugeot Rifter. We cover where the tools are kept, how to use the temporary puncture repair kit and how to fi
How to change the bulbs on your Peugeot Rifter (2018-2025): bulb types, headlamps, indicators, foglamps, rear lamps, number plate and third brake lamp.
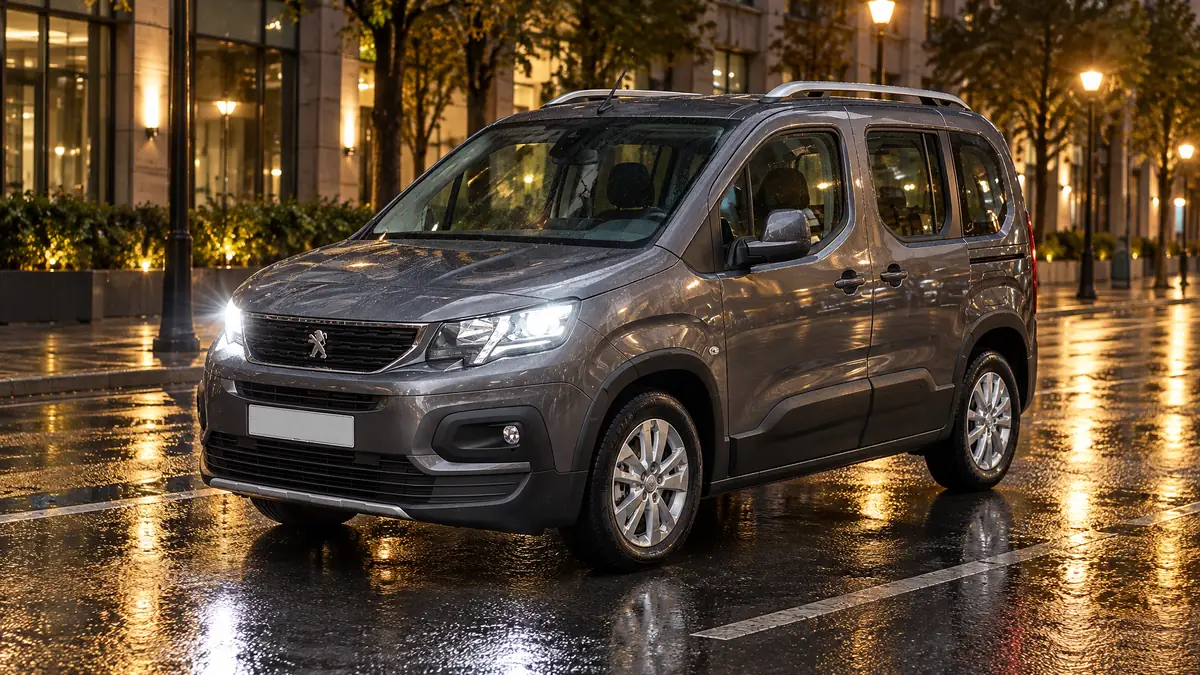
Hello and welcome. In this post, we'll look at how to change the bulbs on the Peugeot Rifter I (2018-2025). It covers the safety precautions, the different types of bulb fitted, and the steps for the front lamps, rear lamps, number plate lamps and third brake lamp. It covers the Peugeot Rifter I (2018-2025), including vehicles produced from 01/11/2021. Some lamps and bulbs depend on the version or equipment fitted, so your Rifter may not have all of them. Some lamps and bulbs depend on the version or equipment fitted, so your Rifter may not have all of them.
The dipped beam headlamps use a Type C, H7 halogen bulb. The main beam headlamps use a Type C, H1 bulb.
Scroll the table sideways.
| Section | In short |
|---|---|
| Changing a bulb | Safety precautions before and after changing a bulb |
| Types of bulb | Bulb types A to D and how to remove them |
| Front lamps | Front bulb types and step-by-step replacement |
| Rear lamps | Rear lamp, number plate and third brake lamp bulbs |
Before you change any bulb, read these precautions. In some weather conditions, such as low temperature or humidity, misting on the inside of the headlamp and rear lamp glass is normal. It will disappear after the lamps have been on for a few minutes.
Cleaning the headlamps: the headlamps have polycarbonate lenses with a protective coating.
Before you start:
Opening the bonnet to reach the bulbs: take care when the engine is hot, as there is a risk of burns. Watch out for objects or clothing that could be caught in the blades of the cooling fan, as there is a risk of strangulation.
Halogen bulbs (Hx): for good quality lighting, check that the bulb is correctly positioned in its housing.
After changing a bulb: refit everything in reverse order to removal. Close the protective cover very carefully so the lamps stay sealed.
Depending on version, your Rifter may have LED daytime running lamps/sidelamps. If you need to replace this type of bulb, you must contact a PEUGEOT dealer or a qualified workshop.
Several types of bulb are fitted on the vehicle. This is how to remove each one:
Scroll the table sideways.
| Type | Bulb | How to remove it |
|---|---|---|
| Type A | All-glass bulb | Pull gently, as it is fitted by pressure |
| Type B | Bayonet bulb | Press on the bulb, then turn it anti-clockwise |
| Type C | Halogen bulb | Release the retaining spring from its housing |
| Type D | Halogen bulb | Turn the bulb anti-clockwise |
When you have finished each job, check that the lighting works.
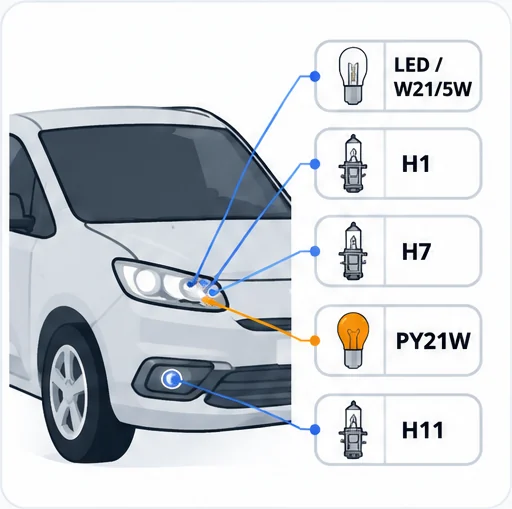
The front lamps come in two designs, Model A and Model B. These are the bulbs fitted:
Scroll the table sideways.
| No. | Lamp | Bulb |
|---|---|---|
| 1 | Sidelamps/Daytime running lamps | Type A, W21/5W or LED (depending on version) |
| 2 | Main beam headlamps | Type C, H1 |
| 3 | Dipped beam headlamps | Type C, H7 |
| 4 | Direction indicator | Type B, PY21W |
| 5 | Foglamp | Type D, H11 |
| - | Direction indicator side repeater | Type A, WY5W-5W (amber) |
Amber bulbs in the direction indicators and side repeaters must be replaced with bulbs of identical specification and colour.
Direction indicator side repeater (Type A, WY5W-5W, amber):
Dipped beam headlamps (Type C, H7):
Refit the protective cover so the tab stays accessible.
Sidelamps/Daytime running lamps, Model A (Type A, W21/5W):
On Model B, these lamps use light-emitting diodes (LEDs). If you need to replace them, you must contact a PEUGEOT dealer or a qualified workshop.
Main beam headlamps (Type C, H1):
Refit the protective cover so the tab stays accessible.
Direction indicators (Type B, PY21W): if a direction indicator lamp flashes rapidly on the left or right, one of the bulbs on that side has failed.
Front foglamps (Type D, H11):
You can also ask a PEUGEOT dealer or a qualified workshop to replace the foglamp bulbs.
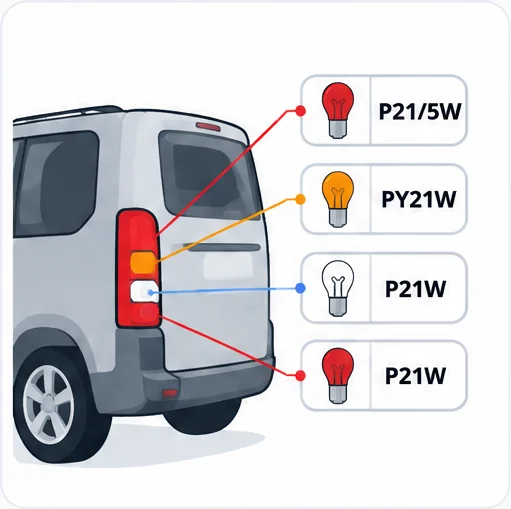
The rear lamps differ slightly depending on whether your Rifter has side-hinged doors or a tailgate. These are the bulbs fitted:
Scroll the table sideways.
| No. | Lamp | Bulb |
|---|---|---|
| 1 | Brake lamps/sidelamps | Type B, P21/5W |
| 2 | Direction indicators | Type B, PY21W (amber) |
| 3 | Reversing lamps | Type B, P21W |
| 4 | Foglamps | Type B, P21W |
| - | Number plate lamps | Type A, W5W - 5W |
| - | Third brake lamp | Type A, W16W - 16W |
Rear lamp unit:
Reposition the tabs and the wiring correctly so the wire is not trapped. After changing a rear direction indicator bulb, the reinitialisation time is approximately 2 minutes or more.
Number plate lamps with side-hinged doors (Type A, W5W - 5W):
Number plate lamps with tailgate (Type A, W5W - 5W):
Third brake lamp (Type A, W16W - 16W):
The dipped beam headlamps use a Type C, H7 halogen bulb. The main beam headlamps use a Type C, H1 bulb.
Rapid flashing of a direction indicator lamp on the left or right means one of the bulbs on that side has failed. Replace it with a bulb of identical specification and colour.
No. If your Rifter has LED daytime running lamps/sidelamps, you must contact a PEUGEOT dealer or a qualified workshop to replace them.
After changing a rear direction indicator bulb, the reinitialisation time is approximately 2 minutes or more. Once you have finished, check that the lighting works.
Changing a bulb on your Peugeot Rifter is straightforward once you know the bulb type and the steps for each lamp. Always let the lamps cool first, use the correct bulb, and check the lighting works when you have finished. For any LED lamp, or if you are unsure, contact a PEUGEOT dealer or a qualified workshop.
For help with the lamps on your instrument panel, see our guides to the Peugeot Rifter red warning lights, the Peugeot Rifter orange warning lights and the Peugeot Rifter green and blue indicator lamps.
Don't forget to follow us on Instagram for more Peugeot guides!
This is an independent guide, not an official Peugeot publication. If in doubt, contact a PEUGEOT dealer or a qualified workshop before carrying out any work.
Related guides: Peugeot Rifter model guides.
Cover adapted from a photograph by Vauxford — Wikimedia Commons, CC BY-SA 4.0 (AI edited).
Hello and welcome. In this post, we'll look at what to do when you get a flat tyre on your Peugeot Rifter. We cover where the tools are kept, how to use the temporary puncture repair kit and how to fi
Hello and welcome. In this post, we'll look at where the 12 V battery is, and how to jump start or charge it on the Peugeot Rifter I (2018-2025). It covers where to find the battery, how to start the
Hello and welcome. In this post, we'll look at tyre pressures and the under-inflation warning on the Peugeot Rifter I (2018-2025). Your Peugeot Rifter can warn you when one or more tyres lose pressure