Peugeot Rifter I Spare Wheel and Tyre Repair Kit
Where your Peugeot Rifter's tools are, how to use the temporary puncture repair kit, and how to change a wheel with the spare wheel safely.
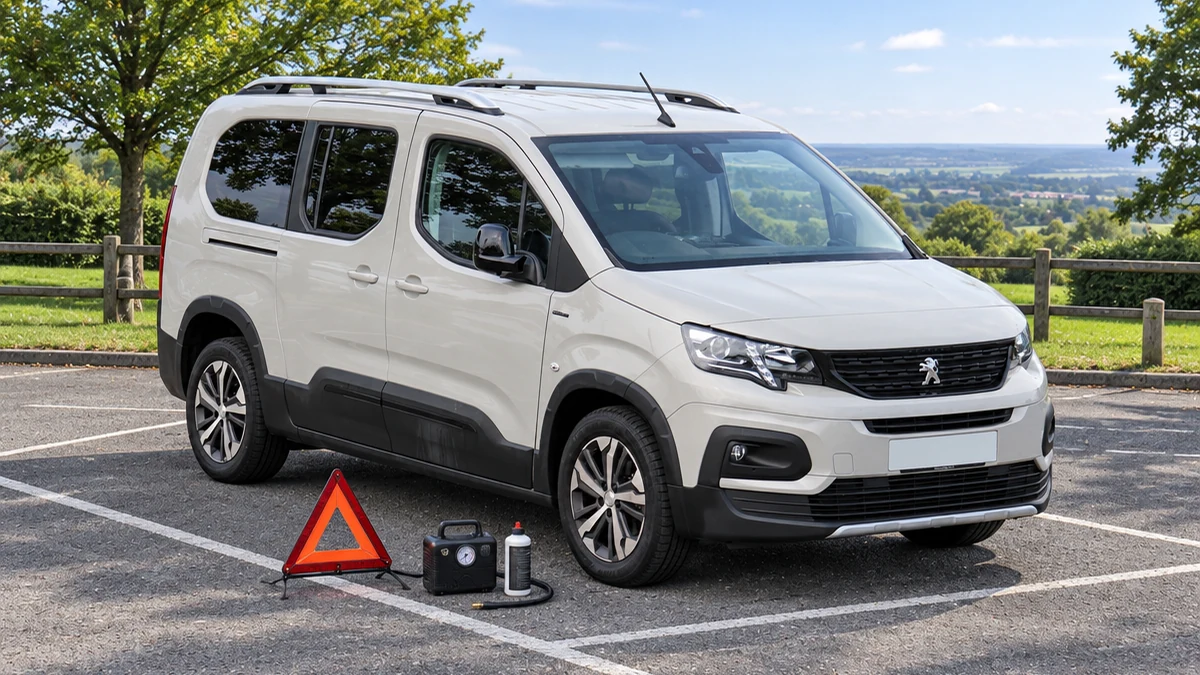
Hello and welcome. In this post, we'll look at what to do when you get a flat tyre on your Peugeot Rifter. We cover where the tools are kept, how to use the temporary puncture repair kit and how to fit the spare wheel. Some items depend on your car's equipment, so you may not have all of them.
Quick Reference
Scroll the table sideways.
| Section | In short |
|---|---|
| Tool kit | Where the tools are kept and what each one does |
| Temporary puncture repair kit | Temporary tyre repair and pressure check with the compressor |
| Spare wheel | Removing the spare, changing the wheel and driving afterwards |
Tool kit
Where the tools are kept depends on whether your Rifter has an electric motor or a Petrol or Diesel engine, and whether it has a repair kit or a spare wheel. For easier access, move the front seat or seats forward.
Scroll the table sideways.
| Vehicle | Equipment | Location |
|---|---|---|
| Electric motor | Temporary puncture repair kit | Tools in the passenger footwell |
| Electric motor | Spare wheel | Tools under the right-hand front seat, jack in the passenger footwell |
| Petrol or Diesel | Temporary puncture repair kit | Kit under the right-hand front seat |
| Petrol or Diesel | Spare wheel | Jack under the right-hand front seat, tools under the left-hand front seat |
On a car with an electric motor and a spare wheel, reach the tools under the right-hand front seat like this:
- Non-adjustable front seat: lift the seat cushion by placing your hand between the cushion and the backrest.
- Adjustable front seat: move the seat forward as far as possible.
These are the tools in the kit:
- 1. Chock: to immobilise the vehicle.
- 2. Removable towing eye.
- 3. Torx key: lets you remove the rear lamps to change a bulb.
- 4. 12 V compressor with sealant cartridge and speed limit sticker (with temporary puncture repair kit): for a temporary tyre repair and to adjust the tyre pressure.
- 5. Wheelbrace (with spare wheel): for removing the wheel bolts and raising or lowering the jack.
- 6. Jack (with spare wheel): used to raise the vehicle.
- 7. Wheel bolt cover/wheel trim removal tool (with spare wheel, depending on equipment): removes the bolt covers on alloy wheels or the wheel trim on steel wheels.
- 8. Socket for "anti-theft" wheel bolts (with spare wheel): adapts the wheelbrace to the special "anti-theft" bolts.
On a car with an electric motor, store the 12 V compressor and sealant cartridge 4 inside the pouch. The passenger footwell is narrow, so put each tool back in its original place or the hatch will not close:
- Chock 1 outside the bag.
- Removable eye 2 on top of the bag, with the buckle facing outwards.
- Torx key 3 on top of the bag.
- 12 V compressor with sealant cartridge 4 inside the bag.
These tools are made for your vehicle and may vary with equipment. Do not use them for anything else. Only use the jack to change a wheel with a damaged or punctured tyre. The jack needs no maintenance and meets European standards, as defined in the Machinery Directive 2006/42/EC. Avoid touching parts of the jack such as the screws and hinges, because they could injure you, and carefully wipe off any traces of grease.
How to use the tyre repair kit
The kit is made up of a compressor and a sealant cartridge. It lets you make a temporary repair so you can drive to the nearest garage, and it is designed to repair most punctures on the tyre tread. Your car's electrical system can power the compressor for long enough to repair a tyre. Only the 12 V socket at the front of the vehicle can be used to power the compressor.
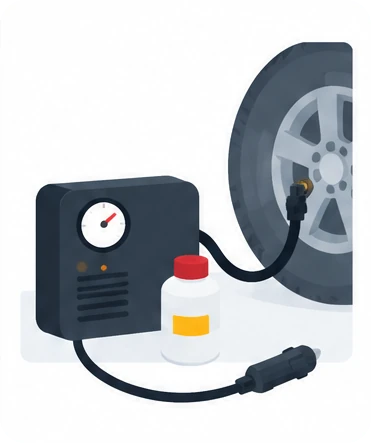
Do not remove any object that has gone into the tyre, such as a nail or screw.
Repairing a puncture:
- Park safely: park without obstructing traffic and apply the parking brake.
- Follow safety rules: use the hazard warning lamps, warning triangle, high visibility jacket and so on, as required by law in the country you are driving in.
- Switch off: switch the ignition off.
- Remove the valve cap: take the cap off the punctured tyre's valve and put it somewhere clean.
- Connect the sealant: connect the pipe from the sealant bottle to the tyre valve and tighten it firmly.
- Connect the compressor: connect the pipe from the compressor to the sealant bottle.
- Check the switch: make sure the compressor switch is in position 'O'.
- Uncoil the cable: fully uncoil the electric cable stowed under the compressor.
- Plug in: connect the compressor's electric plug to the vehicle's 12 V socket.
- Fit the sticker: stick the speed limit sticker inside the car near the driver, as a reminder that a wheel is in temporary use.
- Switch on the ignition: turn the ignition on.
- Inflate: move the switch to position 'I' until the tyre pressure reaches 2 bar. The sealant is injected into the tyre under pressure, so do not disconnect the pipe from the valve during this step, as there is a risk of blowback.
- Switch off the compressor: move the switch to position 'O'.
- Unplug: disconnect the compressor's plug from the 12 V socket.
- Remove the kit: take the kit off the tyre.
- Refit the cap: put the cap back on the valve.
- Store the bottle: remove the sealant bottle and store it.
- Drive straight away: drive immediately for approximately 3 miles (5 kilometres) at reduced speed, between 12 and 37 mph (20 and 60 km/h), to plug the puncture.
- Check the repair: stop and check the repair and the tyre pressure using the kit.
If the pressure has not reached 2 bar after approximately 7 minutes, the tyre cannot be repaired. Contact a PEUGEOT dealer or a qualified workshop for help.
The sealant is harmful if swallowed and irritates the eyes, so keep it out of the reach of children. The use-by date is marked on the bottle. After use, do not throw the bottle away in the environment: take it to a PEUGEOT dealer or an authorised waste disposal site. Remember to get a new bottle of sealant from a PEUGEOT dealer or a qualified workshop.
With a tyre repaired this way, do not exceed 50 mph (80 km/h) and do not drive more than 50 miles (80 km). Contact a PEUGEOT dealer or a qualified workshop to have the repair checked and the tyre changed.
Checking or adjusting tyre pressures: you can use the compressor without sealant to check the pressures and adjust them if needed.
- Remove the valve cap: take the cap off the valve and keep it somewhere clean.
- Uncoil the pipe: uncoil the pipe stowed under the compressor.
- Connect the pipe: screw the pipe onto the valve and tighten it firmly.
- Check the switch: make sure the compressor switch is in position 'O'.
- Uncoil the cable: fully uncoil the electric cable stowed under the compressor.
- Plug in: connect the compressor's electric plug to the vehicle's 12 V socket.
- Switch on the ignition: turn the ignition on.
- Adjust the pressure: move the switch to position 'I' and adjust the pressure to the value on the vehicle's tyre pressure label. To let air out, press the black button on the compressor pipe, near the valve connection.
- Switch off the compressor: once the pressure is correct, move the switch to position 'O'.
- Stow the kit: remove the kit and put it away.
- Refit the cap: put the cap back on the valve.
If the pressure has not reached 2 bar after 7 minutes, the tyre is damaged. Contact a PEUGEOT dealer or a qualified workshop for help. If you adjust the pressure of one or more tyres, you must reinitialise the under-inflation detection system.
Where is the spare wheel?
Before you start, make the car and the area around it safe.
- Park safely: park without obstructing traffic and apply the parking brake.
- Follow safety rules: use the hazard warning lamps, warning triangle, high visibility jacket and so on, as required by law in the country you are driving in.
- Switch off: switch the ignition off.
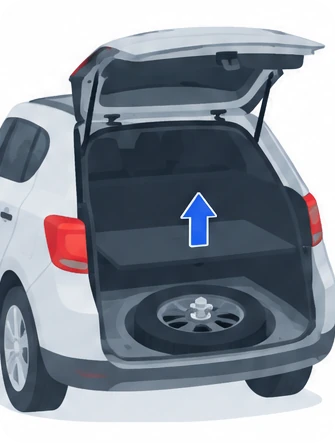
Accessing the spare wheel: you reach the spare wheel from the rear. If your car has a towbar, raise the rear of the car with the jack at jacking point B to give enough space to remove the spare wheel.
Removing the spare wheel from the carrier:
- Open the rear: depending on version, open the tailgate or the side-hinged doors.
- Find the bolt: the carrier bolt is on the rear door sill.
- Lower the carrier: slacken the bolt with the wheelbrace until the carrier is low enough to unhook.
- Take out the wheel: release the carrier from the hook and place the spare wheel next to the wheel you are changing.
Putting the spare wheel back in the carrier:
- Line it up: position the wheel facing the carrier.
- Push it in: push it back into the carrier gradually, alternating left and right, until it is clear of the hook fixing area.
- Secure it: engage the carrier on the hook, then tighten the bolt with the wheelbrace handle until it is tight.
Parking before you remove a wheel: stop where you do not obstruct traffic, on ground that is level, stable and not slippery. With a manual gearbox, engage first gear. With an automatic gearbox, select mode P. In both cases, apply the parking brake unless it is set to automatic mode, switch off the ignition and check that the parking brake lamps on the instrument panel are on fixed. Everyone must get out and wait somewhere safe. If needed, put a chock under the wheel diagonally opposite the one you are changing. Never go under a car raised on a jack: use an axle stand.
Removing a wheel:
- Steel wheel: remove the wheel trim with tool 7. If the wheel has a trim, pull it off at the valve aperture using the wheelbrace.
- Alloy wheel: remove the cap from each bolt with tool 7.
- Security bolt: if fitted, put security bolt socket 8 on wheelbrace 5 and slacken the security bolt.
- Other bolts: slacken the other bolts, without removing them, using wheelbrace 5 only.
- Place the jack: put the foot of the jack on the ground, directly below jacking point A or B on the underbody, whichever is closest to the wheel.
- Extend the jack: extend jack 6 until its head touches the jacking point. The car's contact surface must sit correctly in the centre of the jack head.
- Raise the car: lift it until there is enough space to fit the spare wheel easily.
- Remove the bolts: take out the bolts and keep them somewhere clean.
- Remove the wheel: take the wheel off.
Make sure the jack is stable, as it may slip or collapse on slippery or loose ground. Position it only at jacking point A or B, with the car's contact surface centred on the jack head. Otherwise, you risk damaging the car or the jack collapsing.
Fitting a wheel:
- Fit the wheel: place the wheel on the hub.
- Start the bolts: screw the bolts in by hand as far as possible.
- Pre-tighten the security bolt: use wheelbrace 5 with security socket 8.
- Pre-tighten the others: use wheelbrace 5 only.
- Lower the car: lower it fully.
- Remove the jack: fold jack 6 and take it away.
- Tighten the security bolt: if fitted, tighten it with wheelbrace 5 and security socket 8.
- Tighten the others: tighten the other bolts with wheelbrace 5 only.
- Store the tools: put the tools away.
If the wheel has a trim, refit it by lining up its cutout with the valve, then pushing it into place all round the edge with the palm of your hand. If your car has alloy wheels and you fit a steel spare wheel, washers A do not touch the steel wheel. The wheel is held by the conical contact surface B of each bolt.
After changing a wheel: stow the punctured wheel in the carrier. With a non-standard spare wheel:
- Deactivate certain driving aids, such as Active Safety Brake and Adaptive cruise control.
- Do not exceed the maximum authorised speed of 50 mph (80 km/h) or the maximum distance of 50 miles (80 km).
- Do not drive with more than one spare wheel of this type.
- Do not refit the wheel trim from the replaced wheel.
Then go to a PEUGEOT dealer or a qualified workshop to have the spare wheel's bolt tightening and tyre pressure checked, and to have the punctured tyre examined. The technician will tell you whether it can be repaired or must be replaced. Tyre pressures are shown on the tyre pressure label.
Frequently Asked Questions
Where is the jack on a Peugeot Rifter?
On a Petrol or Diesel Rifter with a spare wheel, the jack is under the right-hand front seat. On a Rifter with an electric motor and a spare wheel, it is in the passenger footwell.
How fast can I drive after using the Rifter puncture repair kit?
Do not exceed 50 mph (80 km/h) or drive more than 50 miles (80 km). Have the repair checked and the tyre changed by a PEUGEOT dealer or a qualified workshop.
What if the compressor does not reach 2 bar?
If the pressure has not reached 2 bar after approximately 7 minutes, the tyre cannot be repaired. Contact a PEUGEOT dealer or a qualified workshop for help.
Where is the spare wheel on a Peugeot Rifter?
The spare wheel sits in a carrier reached from the rear. You lower it by slackening the carrier bolt on the rear door sill with the wheelbrace.
A puncture is never welcome, but knowing where your Rifter's tools are and following the steps in order makes the job quicker and safer. Once you are back on the road, remember the speed and distance limits and get the tyre checked by a PEUGEOT dealer or a qualified workshop.
More Peugeot Rifter Guides
For more on your Rifter, see our guides to the red warning lights, orange warning lights and green and blue warning lights.
Don't forget to follow us on Instagram for more Peugeot guides!
This is an independent guide, not an official Peugeot publication. If in doubt, contact a PEUGEOT dealer or a qualified workshop before carrying out any work.
Related guides: Peugeot Rifter model guides.
Cover adapted from a photograph by Vauxford — Wikimedia Commons, CC BY-SA 4.0 (AI edited).
