Peugeot Rifter I Spare Wheel and Tyre Repair Kit
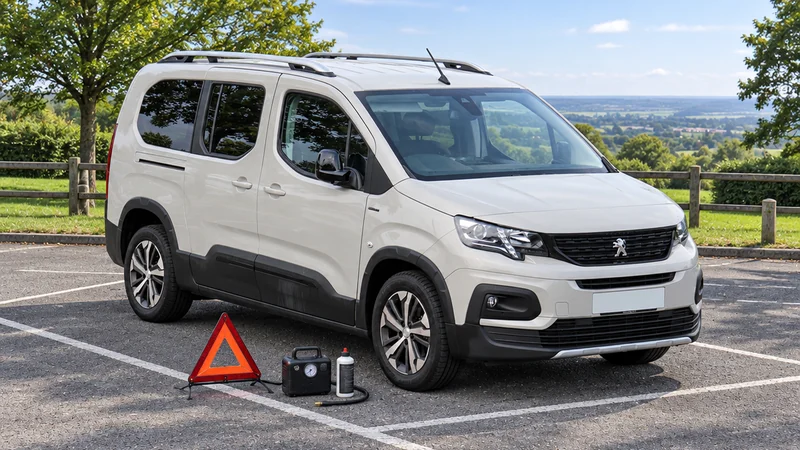
Hello and welcome. In this post, we'll look at what to do when you get a flat tyre on your Peugeot Rifter. We cover where the tools are kept, how to use the temporary puncture repair kit and how to fi
How to access, jump start, charge, disconnect and reconnect the 12 V battery on your Peugeot Rifter (2018-2025), with safety notes.
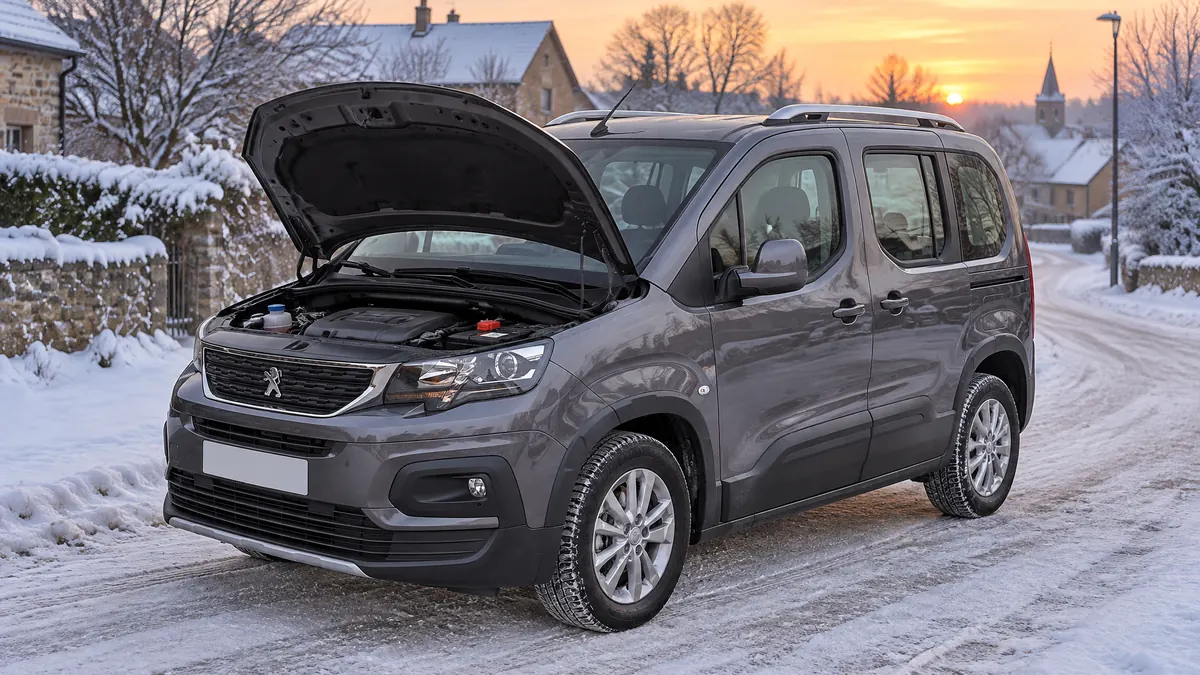
Hello and welcome. In this post, we'll look at where the 12 V battery is, and how to jump start or charge it on the Peugeot Rifter I (2018-2025). It covers where to find the battery, how to start the engine using another battery, how to charge it with a battery charger, and how to disconnect and reconnect it safely. It covers the Peugeot Rifter I (2018-2025), including vehicles produced from 01/11/2021. Some details depend on the version or equipment fitted, so not everything here will apply to every Rifter. Some details depend on the version or equipment fitted, so not everything here will apply to every Rifter.
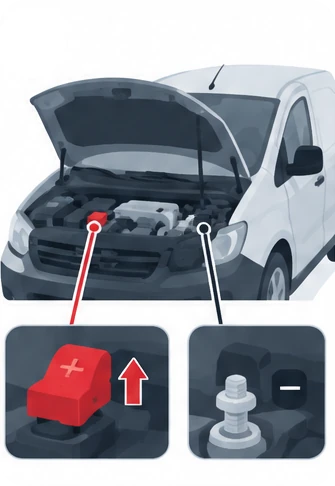
The battery is under the bonnet. Its (-) terminal is not accessible, so use the remote earth point near the battery instead.
Scroll the table sideways.
| Section | In short |
|---|---|
| Lead-acid starter batteries | Battery safety, disposal and electric version precautions |
| Access to the battery | Battery is under the bonnet, use remote earth |
| Starting using another battery | Jump starting with jump leads or a booster |
| Charging the battery using a battery charger | Using a 12 V charger and frozen batteries |
| Disconnecting/reconnecting the battery | Using the quick-release clamp and resetting equipment |
This section covers starting the engine using another battery and charging a flat battery. Before you start, read the safety points below.
The battery contains harmful substances: sulphuric acid and lead. You must dispose of it in line with the regulations and never put it in your household waste. Take a used battery to a designated collection point.
Safety warnings:
Electric motor versions: if the accessory battery is flat, you can no longer start the motor or recharge the traction battery. Before working on the accessory battery, select mode P, switch off the ignition, and check that the instrument panel is off and that the vehicle is not being charged. Never use the accessory battery to jump-start another vehicle or to charge another vehicle's battery.
Symbols on the battery:
The battery is under the bonnet.
You cannot reach the battery's (-) terminal. Instead, there is a remote earth point near the battery. For more on the bonnet and the engine, see the relevant sections of.
If your battery is flat, you can start the engine using a backup battery (external or from another vehicle) and jump leads, or with a battery booster.
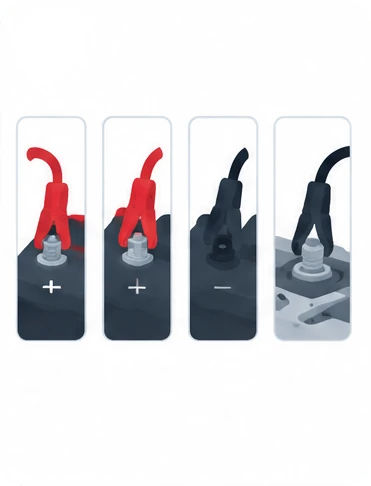
Before you begin:
If you drive off before the battery has enough charge, some functions can be affected, and Stop & Start is not available. On automatic gearbox versions, never try to start the engine by pushing the vehicle.
Keeping the battery well charged is essential for a long service life. You may need to charge it if you mainly make short journeys, or if the vehicle will be off the road for several weeks. Consult a PEUGEOT dealer or a qualified workshop.
If you charge the battery yourself, use only a charger compatible with lead-acid batteries with a nominal voltage of 12 V, follow the charger manufacturer's instructions and never reverse the polarities. You do not need to disconnect the battery.
If there is a 12 V charger label on the battery, use only a 12 V charger, otherwise you can cause irreversible damage to the electrical components.
Frozen battery: never try to charge a frozen battery, as there is a risk of explosion. Have it checked by a PEUGEOT dealer or a qualified workshop, who will make sure the internal components are not damaged and the case has not cracked, which could let toxic and corrosive acid leak out.
If your Rifter will be unused for a long time, disconnecting the battery helps keep enough charge to start the engine. You only need to disconnect the (+) terminal.
Before you disconnect:
Disconnecting the (+) terminal:
Reconnecting the (+) terminal:
Do not force the lever. If the clamp is not positioned correctly, it will not lock, so start the procedure again.
After reconnecting: switch on the ignition and wait 1 minute before starting the engine, so the electronic systems can initialise. If minor problems persist, contact a PEUGEOT dealer or a qualified workshop. Using the relevant sections of, reinitialise
Stop & Start may not work during the first trip after starting the engine. It will only be available again after the vehicle has been parked continuously for a period that depends on the exterior temperature and the battery's state of charge (up to about 8 hours).
The battery is under the bonnet. Its (-) terminal is not accessible, so use the remote earth point near the battery instead.
Let the engine run for at least 30 minutes with the vehicle stationary, so the battery reaches an adequate state of charge.
No, you do not need to disconnect it. Use only a charger compatible with 12 V lead-acid batteries and switch the charger off before connecting or disconnecting the cables.
Stop & Start may not work on the trip after the first engine start. It comes back after the vehicle has been parked continuously for a period that depends on the exterior temperature and battery charge, up to about 8 hours.
A flat battery is a nuisance, but with the right order of connections and a few simple precautions you can get your Rifter going again safely. If you are unsure at any point, or the battery has frozen, ask a PEUGEOT dealer or a qualified workshop for help.
If a warning lamp comes on after a battery problem, see our guides to the Peugeot Rifter red warning lights, the Peugeot Rifter orange warning lights and the Peugeot Rifter green and blue indicator lamps.
Don't forget to follow us on Instagram for more Peugeot guides!
This is an independent guide, not an official Peugeot publication. If in doubt, contact a PEUGEOT dealer or a qualified workshop before carrying out any work.
Related guides: Peugeot Rifter model guides.
Cover adapted from a photograph by Vauxford — Wikimedia Commons, CC BY-SA 4.0 (AI edited).
Hello and welcome. In this post, we'll look at what to do when you get a flat tyre on your Peugeot Rifter. We cover where the tools are kept, how to use the temporary puncture repair kit and how to fi
Hello and welcome. In this post, we'll look at how to change the bulbs on the Peugeot Rifter I (2018-2025). It covers the safety precautions, the different types of bulb fitted, and the steps for the
Hello and welcome. In this post, we'll look at tyre pressures and the under-inflation warning on the Peugeot Rifter I (2018-2025). Your Peugeot Rifter can warn you when one or more tyres lose pressure