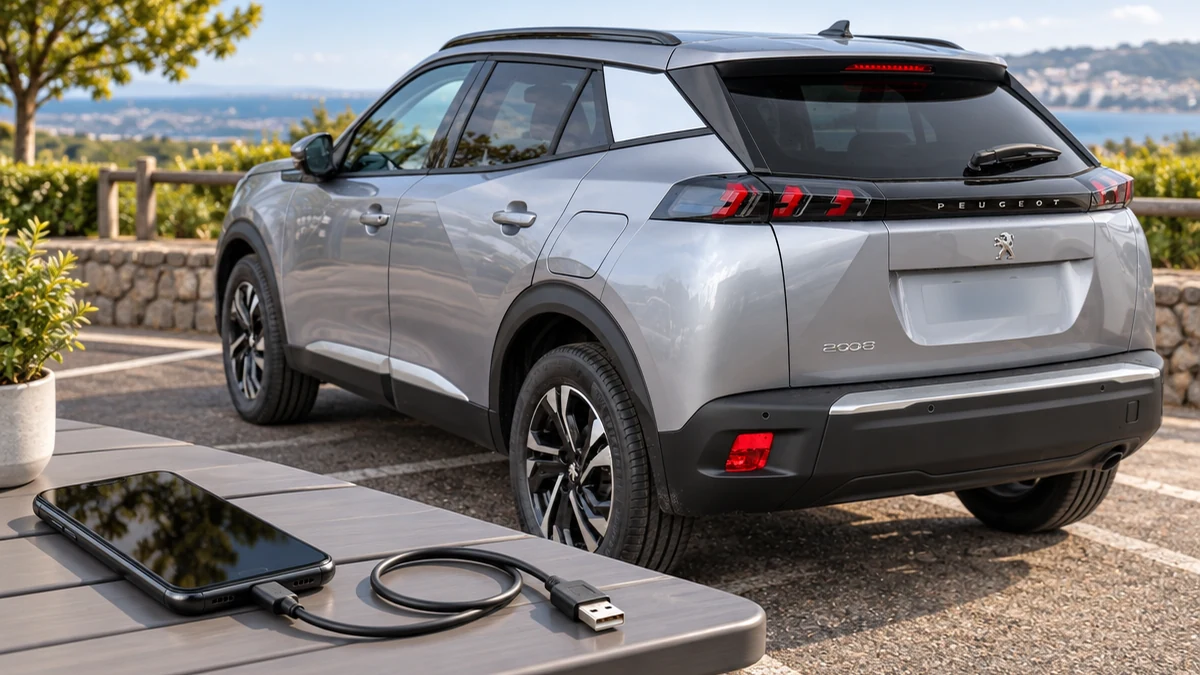
You can play music from a USB device, the auxiliary socket, Bluetooth streaming or an Apple® player. To protect the system, never use a USB hub.
USB port
Insert a USB memory stick, or connect your USB device with a suitable cable (not supplied). At the first connection, the system builds playlists in temporary memory, which can take from a few seconds to several minutes. Fewer non-music files and fewer folders cut the waiting time. Playlists update whenever you switch off the ignition or connect a USB memory stick, and they load faster next time if they have not changed.
Auxiliary (AUX) jack socket
Depending on equipment, you can connect a portable device such as an MP3 player with an audio cable (not supplied). This source is only available if “Auxiliary input” is selected in the audio settings. Set the volume on the portable device to a high level first, then adjust the audio system volume. You control playback from the portable device.
Selecting the source
- Open the media page: press Radio Media to display the main page.
- Open sources: press “SOURCES”.
- Choose: select the source you want.
Bluetooth Streaming®
Streaming lets you listen to audio from your smartphone, which then counts as a media source. The Bluetooth profile must be activated. Set the volume on the phone to a high level first, then adjust the system volume. If play does not start automatically, start it from the smartphone. You can control it from the phone or the system's touch buttons.
Apple® players
Connect the player to the USB socket with a suitable cable (not supplied). Play starts automatically and you control it through the audio system. You can browse by the player's own classifications (artists, albums, genres, playlists, audio books, podcasts) or as a library. The default is by artist: to change it, return to the first menu level, select another classification and confirm. The audio system software may not be compatible with the generation of your Apple® player.
Supported devices and files
- Devices: USB mass storage devices, BlackBerry® devices or Apple® players via the USB ports (adapter cable not supplied).
- Audio files: .wav, .wma, .aac, .ogg and .mp3, at bit rates between 32 Kbps and 320 Kbps.
- VBR (Variable Bit Rate) mode is supported.
- No other file types, such as .mp4, can be read.
- All .wma files must be standard WMA 9 files.
- Sampling rates: 11, 22, 44 and 48 KHz.
- File names: under 20 characters, with no special characters (e.g. “ ? . ; ù).
- USB memory sticks: FAT32 format only.
Devices the system does not recognise must go through the auxiliary socket with a jack cable (not supplied) or Bluetooth streaming, if compatible. Use the original USB cable for your portable device where possible.
Telephone
This section covers smartphone mirroring with CarPlay® or Android Auto, and using your phone through Bluetooth®.
Before you connect
- Depending on equipment, see the “Ease of use and comfort” section of the handbook for the USB sockets compatible with CarPlay® or Android Auto.
- For the list of compatible smartphones, ask a PEUGEOT dealer or a qualified workshop.
- For CarPlay®, activate the CarPlay® function on the smartphone first.
- Unlock the smartphone so it can communicate with the system.
- Keep the smartphone's operating system up to date, along with the date and time on both the phone and the system.
CarPlay® connection
Availability depends on the country, and you need a compatible smartphone and applications. Connecting the USB cable switches off the system's Bluetooth® mode, and the phone charges while connected.
- Connect: plug in the USB cable.
- Open CarPlay: press Telephone on the system to display the CarPlay® interface.
If the phone is already connected by Bluetooth®, plug in the USB cable, press “Telephone”, press “PHONE” to reach the secondary page, then press “CarPlay”. You can reach CarPlay® navigation at any time with the system's Navigation button. If you unplug the cable and switch the ignition off and back on, the system does not return to Radio Media mode by itself, so change the source manually.
Android Auto connection
Availability depends on the country, and you need a compatible smartphone and applications. Download the Android Auto application on the phone first.
- Connect: plug in a USB cable. The phone charges while connected.
- Open the phone page: press “Telephone” on the system. If the phone is already connected by Bluetooth®, also press “PHONE” to reach the secondary page.
- Start Android Auto: press “Android Auto”.
- Accept the screens: accept the pages that appear to complete the connection. Some phones need the “Android Auto” function activating.
Enabling Bluetooth® on the phone is recommended when connecting. Audio sources stay available in the upper bar of the Android Auto display, and the system menus remain available through the dedicated buttons. Applications can take a moment to appear, depending on network quality.
Pairing a Bluetooth® telephone
The services available depend on the network, the SIM card and the compatibility of your devices, so check the phone's user guide and your service provider. Activate Bluetooth on the phone and set it to “Visible to all”. Whichever method you use, make sure the code is the same on the system and the phone.
- From the telephone: select the system's name in the list of detected devices, then accept the request on the system.
- Or from the system: press Telephone, press “Bluetooth search” and select your phone from the list.
- Choose profiles: select one or more of “Telephone” (hands-free), “Streaming” and “Mobile internet data”.
- Confirm: press “OK”. Depending on the phone, you may be asked to accept the transfer of contacts and messages.
If pairing fails, switch Bluetooth off and back on on the phone. All three profiles may connect by default, and whether just one can connect depends on the phone. Compatible profiles are HFP, OPP, PBAP, A2DP, AVRCP, MAP and PAN.
Reconnection and managing phones
If the last phone connected is in the car, it is recognised and paired automatically within about 30 seconds of switching on the ignition (Bluetooth activated).
- Open the list: press Telephone, press “PHONE”, then press “Bluetooth connection”.
- Change profiles: press “Details” for a phone, select the profiles and press “OK”.
- Disconnect or connect: press the phone's name once to disconnect it, and again to connect it.
- Delete: press the basket at the top right, then the basket alongside the phone.
Receiving and making calls
An incoming call is announced by a ring and a display on the screen. Make a short press on the steering mounted PHONE button to accept it, or a long press to reject it, or press “End call”. Using the phone while driving is not recommended: park the car and use the steering mounted controls.
- New number: press Telephone, enter the number on the keypad and press “Call”.
- Contact: press Telephone, or press and hold the steering mounted PHONE button, press “Contacts”, select the contact and press “Call”.
- Recent number: press Telephone, or press and hold the steering mounted button, press “Recent calls” and select the contact.
- Ring volume: press Telephone, press “OPTIONS”, press “Ring volume” and use the arrows or slider.
You can always call directly from the phone, but park the car first.
Frequently Asked Questions
Why won't my Peugeot 2008 play files from my USB stick?
The system only plays .wav, .wma, .aac, .ogg and .mp3 files at 32 Kbps to 320 Kbps, and the stick must be in FAT32 format. Do not use a USB hub, and keep file names under 20 characters with no special characters.
Why does DAB radio cut out in my Peugeot 2008?
DAB does not cover 100 % of the country, so the sound cuts out when the signal is too weak if the station is not on FM or FM-DAB Follow-up is off. Activate FM-DAB Follow-up in the radio options to switch to FM automatically.
How do I connect Apple CarPlay in my Peugeot 2008?
Activate CarPlay® on your phone, plug it in with the USB cable, then press Telephone on the system to display the CarPlay® interface. If the phone was already connected by Bluetooth®, press “PHONE” and then “CarPlay”.
What can I do if Bluetooth pairing fails on my Peugeot 2008?
Switch Bluetooth off and back on on the phone, make sure it is set to “Visible to all”, and check the code is the same on the phone and the system. Pair with the car stationary and the ignition on.
PEUGEOT Connect Radio puts your radio, music and phone in one place on your Peugeot 2008. Set things up with the car stationary, keep your phone's software up to date, and see the handbook for the full details of each function.
More Peugeot 2008 Guides
If a lamp lights up on your dashboard, read our guides to the Peugeot 2008 red warning lights, the Peugeot 2008 orange warning lights and the Peugeot 2008 green and blue indicator lamps.
Don't forget to follow us on Instagram for more Peugeot guides!
This is an independent guide, not an official Peugeot publication. Check your vehicle’s own manual before carrying out any work.
Related guides: Peugeot 2008 model guides.
Cover adapted from a photograph by Vauxford — Wikimedia Commons, CC BY-SA 4.0 (AI edited).