The tools supplied depend on the country where the car was sold.
Scroll the table sideways.
| No. | Tool | What it is for |
|---|
| 1 | Wheelbrace | Removing the wheel trim and the wheel bolts |
| 2 | Jack with integrated crank | Raising the car |
| 3 | "Bolt cover" tool | Removing the bolt covers on alloy wheels |
| 4 | Socket for the security bolts (in the glove box) | Adapting the wheelbrace to the special "security" bolts |
| 5 | Removable towing eye | Towing (see the Towing the vehicle section below) |
Keep these points in mind:
- The tools are specific to your car, can vary with the equipment level and must not be used for anything else.
- Only use the jack to change a wheel with a damaged or punctured tyre.
- Never use any jack other than the one supplied with the car. If your car does not have its original jack, contact a PEUGEOT dealer or a qualified workshop to get the correct one.
- The jack meets European standards, as defined in the Machinery Directive 2006/42/EC, and needs no maintenance.
If your wheel has a hub cap, refit it with its notch facing the valve, then press around its edge with the palm of your hand.
Access to the spare wheel
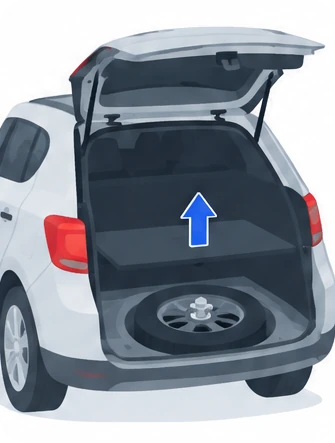
The spare wheel is in the boot, under the floor. Depending on the country of sale, it is a steel wheel or a space-saver wheel, and it is held by a nut A and a bolt B.
Taking out the wheel:
- Unscrew the nut: unscrew the coloured central nut.
- Remove the fastening: take out the fastening device (nut and bolt).
- Lift the wheel: raise the spare wheel towards you from the rear.
- Take it out: lift the wheel out of the boot.
Putting the wheel back in place:
- Position the wheel: put the wheel back in its housing.
- Loosen the nut: give the nut on the coloured central bolt a few turns to loosen it.
- Fit the fastening: place the fastening device (nut and bolt) in the middle of the wheel.
- Tighten: tighten fully until the central nut clicks, so the wheel is held correctly.
- Refit the tool box: put the box back in the centre of the wheel and clip it in.
- Refit the polystyrene box: put the polystyrene storage box back in place.
If there is no wheel in the well, you cannot refit the fastening device.
Removing a wheel
Before you start, make sure the car is parked safely:
- Park where you do not block traffic, on level, stable and non-slippery ground.
- Apply the parking brake and switch off the ignition.
- With a manual gearbox, engage first gear. With an electronic gearbox, put the lever in R. With an automatic gearbox, put the lever in P.
- Check that the parking brake warning lamps are lit steadily on the instrument panel.
- Make sure all passengers have left the car and are waiting somewhere safe.
- Never go under a car raised on a jack. Use an axle stand.
- Remove the bolt covers: use tool 3 to remove the cover from each bolt (depending on equipment).
- Slacken the security bolt: fit the security socket 4 on the wheelbrace 1 and slacken the security bolt, if fitted.
- Slacken the other bolts: slacken the remaining bolts using the wheelbrace 1 only.
- Position the jack: place the foot of jack 2 on the ground, directly below the front A or rear B jacking point on the underbody, whichever is closest to the wheel.
- Extend the jack: extend jack 2 until its head touches the jacking point, with the contact surface on the car correctly engaged in the centre of the jack head.
- Raise the car: lift the car until there is enough space between the wheel and the ground to fit the spare wheel easily.
- Remove the bolts: take out the bolts and keep them somewhere clean.
- Remove the wheel: take the wheel off.
The jack must be stable on firm, non-slippery ground and used only at jacking points A or B, with its head centred. Otherwise the car can be damaged or the jack can collapse or slip, with a risk of injury.
Fitting a wheel
Once the damaged wheel is off, fit the spare wheel as follows.
- Fit the wheel: put the wheel in place on the hub.
- Fit the bolts: screw the bolts in by hand to the stop.
- Pre-tighten the security bolt: use the wheelbrace 1 with the security socket 4, if your car has them.
- Pre-tighten the other bolts: use the wheelbrace 1 only.
- Lower the car: lower the car fully.
- Remove the jack: fold jack 2 and take it away.
- Tighten the security bolt: use the wheelbrace 1 with the security socket 4 (depending on equipment).
- Tighten the other bolts: use the wheelbrace 1 only.
- Refit the bolt covers: put the covers back on each bolt (depending on equipment).
- Stow the tools: put the tools back in the box.
After changing the wheel:
- If your car has alloy wheels, it is normal for the bolt washers not to touch a steel or space-saver spare wheel. The wheel is held by the conical contact of each bolt.
- To store the punctured wheel in the boot correctly, remove the central cover first.
- Do not exceed 50 mph (80 km/h) on a space-saver spare wheel.
- Have the bolt tightening and spare wheel pressure checked by a PEUGEOT dealer or a qualified workshop without delay.
- Have the punctured wheel repaired and refitted as soon as possible.
Frequently Asked Questions
Where is the puncture repair kit on a Peugeot 2008?
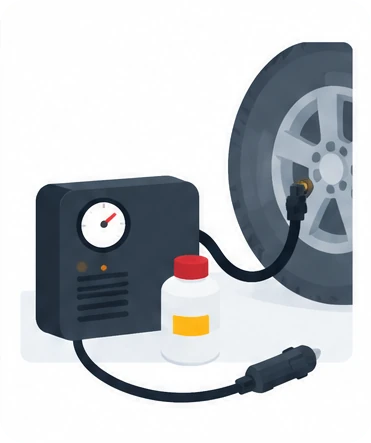
The kit is in the under floor storage, under the boot floor. It contains a 12 V compressor with a pressure gauge, a sealant cartridge with hose and a speed limit sticker.
How fast can I drive after using the Peugeot 2008 tyre repair kit?
Do not exceed 50 mph (80 km/h) with a tyre repaired using the kit. Straight after the repair, drive for approximately three miles (five kilometres) between 12 and 37 mph (20 and 60 km/h) to plug the puncture.
What if the compressor won't reach 2 bars?
If the pressure does not reach 2 bars after about 7 minutes, the tyre cannot be repaired. Contact a PEUGEOT dealer or a qualified workshop for help.
Why is the tyre pressure warning light still on after a repair?
After a tyre repair, the under-inflation warning lamp stays on until the system is reset. You must reinitialise the under-inflation detection system whenever you adjust the pressure of one or more tyres.
Whether your Peugeot 2008 has the repair kit or a spare wheel, knowing the steps before you need them makes a roadside puncture far less stressful. Always park somewhere safe first, keep to the speed limits after a repair, and have the tyre seen to by a PEUGEOT dealer or a qualified workshop as soon as you can.
More Peugeot 2008 Guides
If a warning lamp comes on after a puncture, see our guides to the Peugeot 2008 orange warning lights and Peugeot 2008 red warning lights.
Don't forget to follow us on Instagram for more Peugeot guides!
This is an independent guide, not an official Peugeot publication. If in doubt, contact a PEUGEOT dealer or a qualified workshop before carrying out any work.
Related guides: Peugeot 2008 model guides.
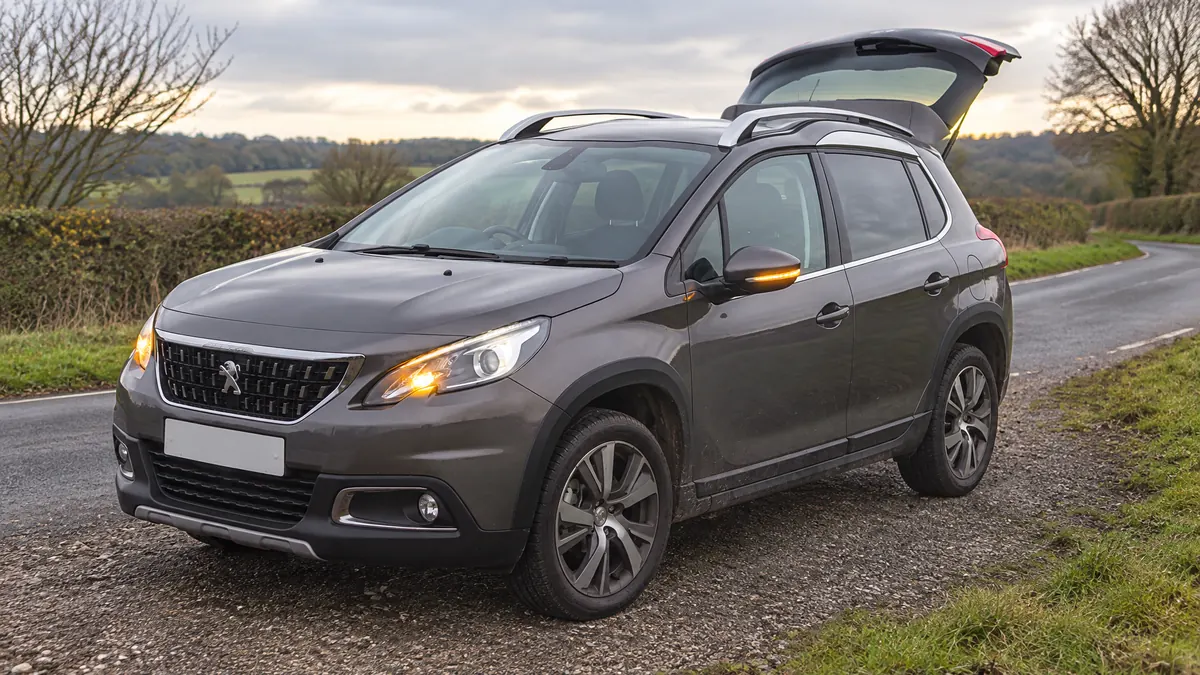
Cover adapted from a photograph by Vauxford — Wikimedia Commons, CC BY-SA 4.0 (AI edited).