You can play music from a USB device, the AUX socket, a CD, your phone over Bluetooth or an Apple player.
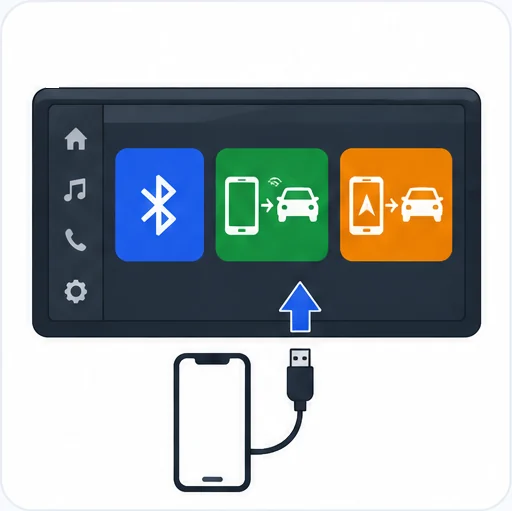
USB port: insert a USB stick, or connect a USB device with a suitable cable (not supplied). The system switches to the "USB" source automatically and your device charges while it is connected. Do not use a USB hub, as it can damage the system. Any device you connect must comply with the standard for the product and/or the standard IEC 60950-1. At the first connection, the system builds playlists, which can take from a few seconds to several minutes. Fewer non-music files and folders mean a shorter wait. Playlists are updated each time you connect a new USB stick.
Play modes:
- Normal: tracks play in order, based on the classification of the selected files.
- Random: tracks in an album or folder play in random order.
- Random on all media: all tracks on the media play in random order.
- Repeat: only tracks from the current album or folder are played.
- Open the menu: press the button for the Media contextual menu.
- Choose the mode: press the button to select the play mode you want.
- Confirm: press the confirm button. Your choice appears at the top of the screen.
To move between tracks or folders, use the previous / next track buttons or the previous / next folder buttons.
File classification:
- Show the options: make a long press on the classification button.
- Choose a type: select "Folder", "Artist", "Genre" or "Playlist", depending on availability and the device used.
- Confirm: press OK to select it, then press OK again to confirm.
Playing files:
- Show the list: make a short press on the classification button.
- Browse: move through the list with the left / right and up / down buttons.
- Select: press OK to confirm.
- Change track: press the previous / next buttons, or press and hold them to fast forward or rewind.
- Change group: press the relevant buttons to go to the previous / next "Folder", "Artist", "Genre" or "Playlist", depending on availability and the device used.
AUX socket (depending on equipment):
- Connect: plug your portable device (MP3 player, etc.) into the auxiliary jack socket with an audio cable (not supplied).
- Select AUX: press SOURCE several times until you reach "AUX".
- Set the volume: turn the volume up high on your portable device first, then adjust the audio system volume.
You control playback from the portable device. Do not connect the same device to the AUX socket and the USB port at the same time.
CD player: insert only round CDs. Play starts automatically. Some anti-piracy systems on original or home-copied discs can cause faults, which do not reflect on the quality of the player. External CD players connected to the USB port are not recognised. To play a disc that is already inserted, press SOURCE several times and select "CD". Use the track buttons to choose a track, press LIST to see the track list, and press and hold the relevant buttons to fast forward or rewind.
MP3 compilation: after you insert the disc, the system searches for all the tracks, which can take from a few seconds to several tens of seconds. A single disc can hold up to 255 MP3 files over 8 folder levels, but keeping to two levels shortens the wait. The folder structure is not kept during playback, and all files appear on a single level. Use the folder and track buttons to choose, and press LIST to see the list of folders.
Bluetooth audio streaming: this plays music from your phone through the car's speakers, if your phone supports it.
- Connect your phone: pair it as described in the Telephone section.
- Select streaming: press SOURCE. In some cases you need to start playback from the phone.
- Choose tracks: use the audio system buttons or the steering mounted controls.
Sound quality depends on how well the phone transmits.
Apple players: connect the player to the USB port with a suitable cable (not supplied). Play starts automatically and you control it from the audio system, using the player's own classifications (artists / albums / genres / playlists). Genuine Apple USB cables are recommended. The audio system software may not be compatible with your Apple player's generation.
Supported files:
Scroll the table sideways.
| Item | CD player | USB port |
|---|
| File extensions | .mp3,.wma,.wav,.aac | .mp3,.wma,.wav,.cbr,.vbr |
| Bit rate | 32 to 320 Kbps | 32 to 320 Kbps |
| Sampling rates | 11, 22, 44 and 48 kHz | 11, 22, 44 and 48 kHz |
| .wma files | wma 9 standard | wma 9 standard |
- The CD player also supports TAG mode (ID3 tag, WMA TAG). Other file types, such as.mp4, cannot be read.
- Keep file names under 20 characters and avoid special characters (e.g. « ?; ù) to prevent reading or display problems.
- When burning a CDR or CDRW, choose ISO 9660 level 1, 2 or Joliet if possible. Discs in other formats may not play correctly.
- Use the same burning standard on each disc, at the lowest speed possible (4x maximum), for the best sound. For multi-session CDs, Joliet is recommended.
- Use only USB sticks formatted FAT 32 (File Allocation Table), and do not use a USB hub.
Telephone
The hands-free system lets you make and take calls through the car once your phone is paired. Only pair your phone with the car stationary and the ignition on, as pairing needs your full attention.
First, turn on Bluetooth on your phone and make sure it is "visible to all". The services you can use depend on the network, your SIM card and how compatible your phone is, so check your phone's instructions and your service provider.
Pairing from the phone: select the system's name in the phone's list of detected devices.
Pairing from the system:
- Open the menu: press the MENU button.
- Connections: select "Connections" and confirm with OK.
- Search: select "Search for a device" and confirm with OK. A search in progress message appears.
- Choose your phone: select the phone to pair from the list. Only one phone can be paired at a time.
To finish pairing, make sure the code shown on the system and on the phone is the same. There is no limit on the number of attempts if pairing fails. A message on the screen confirms the pairing. The "Telephone" menu then gives access to "Directory" (if your phone is fully compatible), "Call log" and "View paired devices". Depending on your phone, you may need to accept access to each of these functions.
Managing connections: connecting your phone includes both hands-free and audio streaming. Whether the system can connect just one profile depends on the phone, and both may connect by default.
- Open the menu: press MENU, select "Connections" and press OK.
- Show paired phones: select "Bluetooth Connections management" and confirm, then press OK.
- Choose a phone: select a phone and press OK.
- Choose an action: select the option you want and press OK to confirm.
- "Connect telephone" / "Disconnect telephone": the hands-free kit only.
- "Connect media player" / "Disconnect media player": streaming only.
- "Connect telephone + media player" / "Disconnect telephone + media player": both hands-free and streaming.
- "Delete connection": deletes the pairing. Remember to delete it from your phone as well.
On the list, symbols show that a device is connected and whether the audio streaming or hands-free profile is connected. A number shows the profile: 1 for media or 1 for telephone, 2 for media and telephone.
Receiving a call: an incoming call is announced by a ring and a message on the screen. Select the "YES" tab and confirm with OK, or press the answer button on the steering mounted controls.
Making a call: in the "Telephone" menu, select "Call", then choose "Dial", "Directory" or "Calls list" and confirm with OK. You can also press the relevant steering mounted button for more than two seconds to open your directory, then scroll with the thumb wheel.
Ending a call: in the "Telephone" menu, select "End call" and confirm with OK, or press one of the relevant buttons for more than two seconds during the call.
During a call: press OK to open the contextual menu, then confirm your choice with OK.
- "Hang up": ends the call.
- "Micro OFF": select it to switch off the microphone so the caller cannot hear you, deselect it to switch the microphone back on.
- "Telephone mode": select it to move the call to your phone, for example to leave the car and carry on talking, deselect it to move the call back to the car. In some cases you must turn this on from the phone. If the call was cut off, the Bluetooth connection and sound return to the system automatically when you get back in, depending on your phone.
- "DTMF tones": lets you use the keypad to move through an automated voice menu.
- "Switch": returns you to a call on hold.
Directory: press and hold SRC/TEL, select "Directory" and confirm with OK. The system reads your phone's contacts while it is connected by Bluetooth, depending on compatibility. Some phones can send a contact to the system's own directory. These contacts are saved permanently and are visible to all, whichever phone is connected. The directory menu cannot be opened if it is empty. To change saved contacts, press MENU, select "Telephone", then "Directory management". From there you can "Consult an entry", "Delete an entry" or "Delete all entries".
Voice recognition: this lets you use your smartphone's voice recognition through the system. Your smartphone must be compatible and connected to the car by Bluetooth first. Depending on your steering mounted controls, make a long press on the end of the lighting control stalk, or press the voice recognition button.
Frequently Asked Questions
How do I pair my phone with my Peugeot 3008 by Bluetooth?
With the car stationary and the ignition on, turn on Bluetooth on your phone and make it visible, then select the system's name on your phone, or press MENU, select "Connections" and "Search for a device". Check that the code is the same on both and a message confirms the pairing.
Why does my Peugeot 3008 DAB radio keep cutting out?
DAB does not cover 100% of the country, and the sound cuts when the digital signal is too weak if the station is not on FM or "DAB / FM auto tracking" is off. Switch on tracking through MENU and "Multimedia" so the system can move to the FM version of the station.
What music files can my Peugeot 3008 play from a USB stick?
Through the USB port it plays.mp3,.wma,.wav,.cbr and.vbr files with a bit rate of 32 to 320 Kbps. Use a USB stick formatted FAT 32 and do not use a USB hub.
Why does my Peugeot 3008 radio switch off when the engine is off?
To avoid draining the battery, the audio system may switch off after a few minutes if the engine is not running.
Once your phone is paired and your favourite stations are stored, the audio system on your Peugeot 3008 is simple to use from the steering mounted controls. Keep this guide handy. If in doubt, ask a PEUGEOT dealer or a qualified workshop.
More Peugeot 3008 Guides
If a lamp lights up on your instrument panel, see our guides to Peugeot 3008 red warning lights, Peugeot 3008 orange warning lights and Peugeot 3008 green and blue indicator lamps.
Don't forget to follow us on Instagram for more Peugeot guides!
This is an independent guide, not an official Peugeot publication. If in doubt, contact a PEUGEOT dealer or a qualified workshop before carrying out any work.
Related guides: Peugeot 3008 model guides.
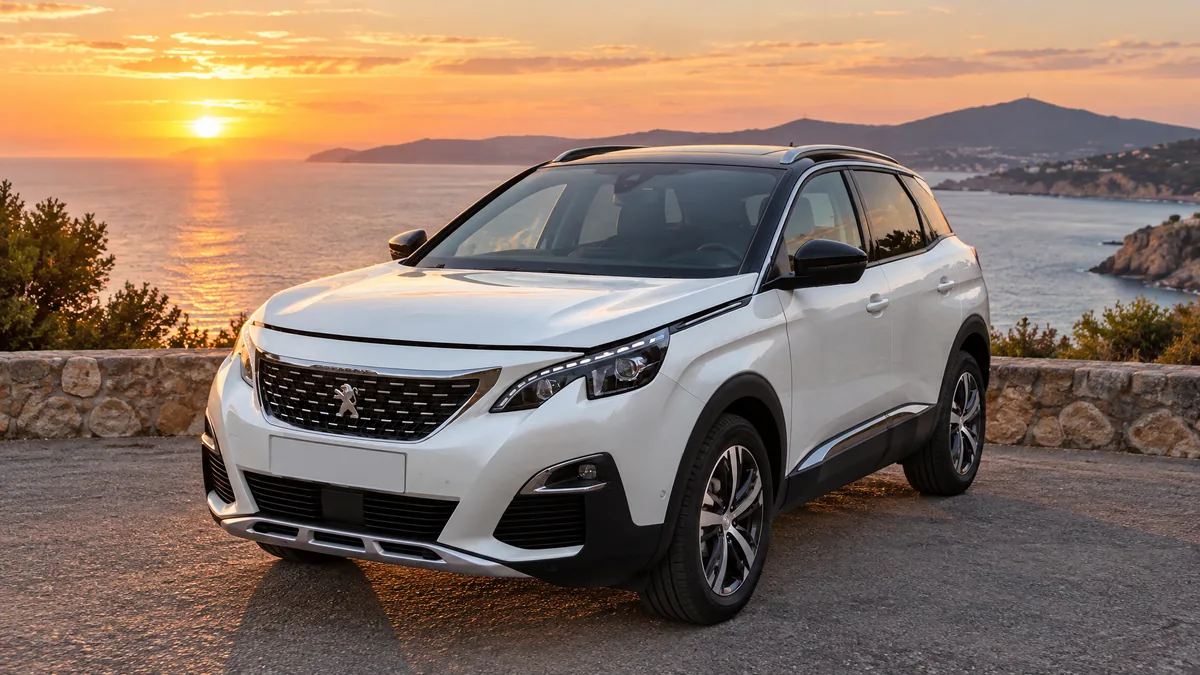
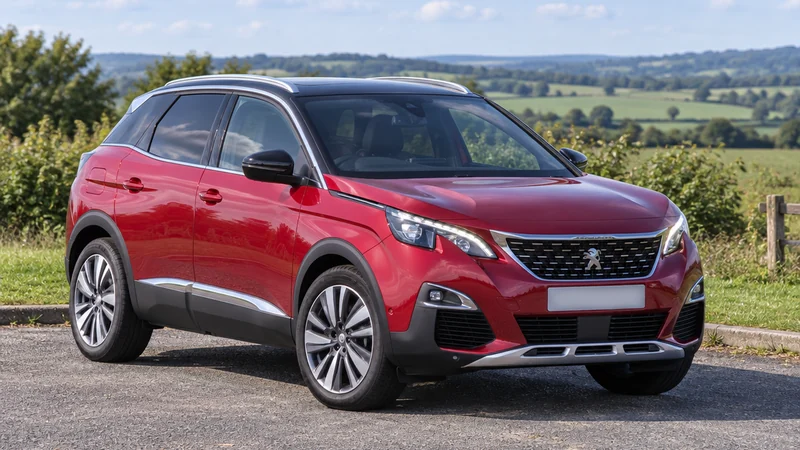
Cover adapted from a photograph by Tokumeigakarinoaoshima — Wikimedia Commons, CC BY-SA 4.0 (AI edited).