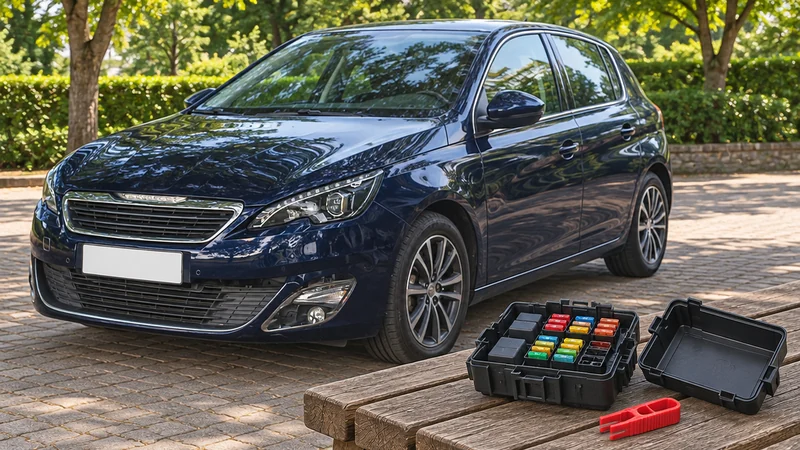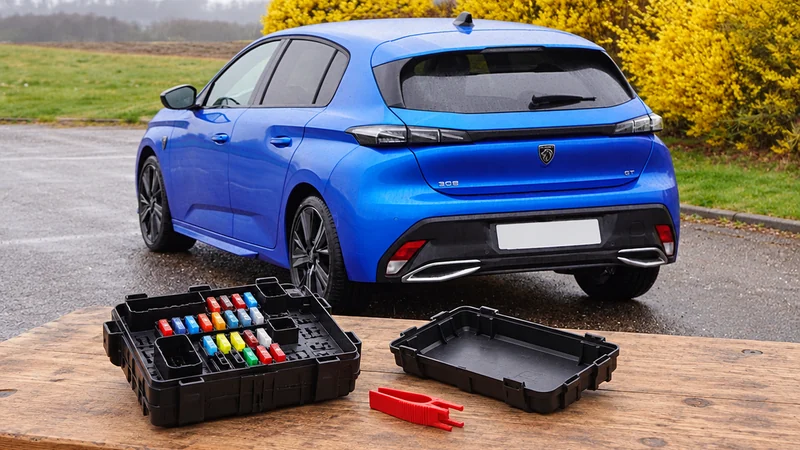
Peugeot 308 Fuse Box and Fuses (2021-2025)
Hello and welcome. In this article we look at the fuses on the Peugeot 308 III (2021-2025). We will cover who should change a fuse and what to know before fitting extra electrical equipment or accesso
How to adjust the seats, steering wheel, mirrors, heated seats, rear seats and air conditioning on your Peugeot 308 II (2015-present).
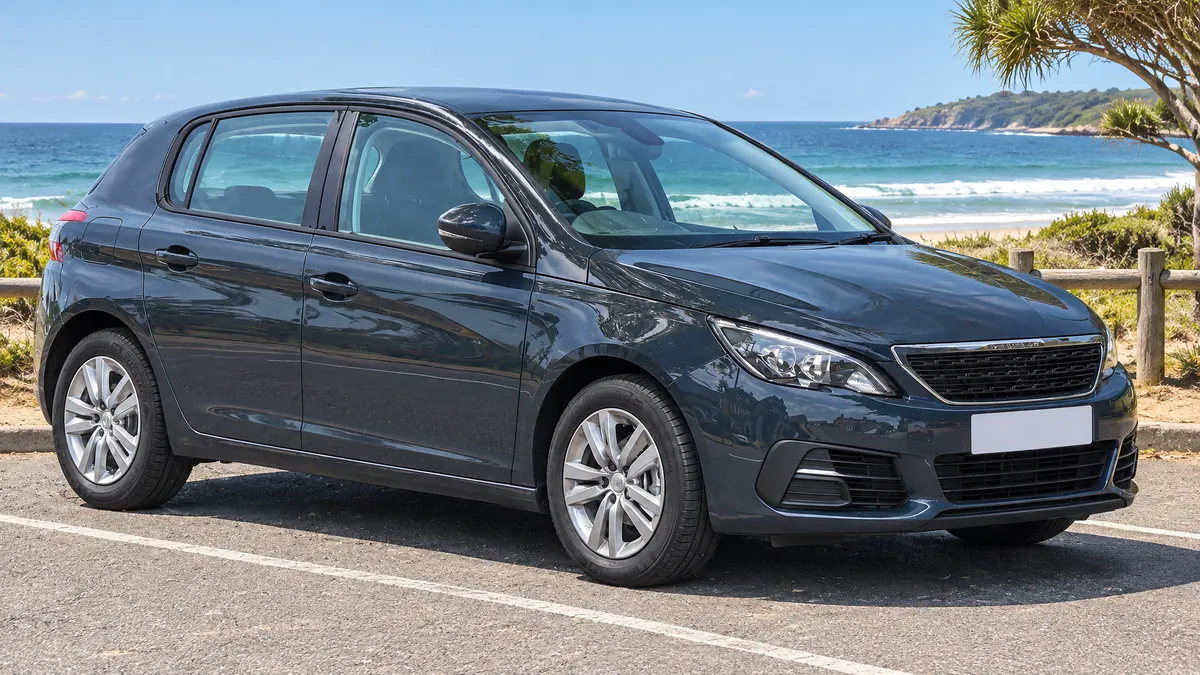
Hello and welcome. In this post, we'll look at the climate controls, seats and comfort features on the Peugeot 308 II (2015-present). It also covers the heated seats and folding the rear seats on both the hatchback and the SW. Some features, such as the electric seat, heated seats and dual-zone air conditioning, depend on the version or equipment, so you may not have all of them on your 308.
The heated seats only work with the engine running and when the outside temperature is below 20°C. Check that the knob is not at position 0.
Scroll the table sideways.
| Section | In short |
|---|---|
| PEUGEOT i-Cockpit | Adjustment order for the driving position and manual seats |
| Electrically-adjusted drivers seat | Electric seat controls and storing two driving positions |
| Heated seats | Heated seat levels, safety advice and steering wheel adjustment |
| Mirrors | Mirror adjustment, folding, anti-dazzle and hatchback rear seats |
| Rear seats (SW) | Folding the SW rear bench and removing head restraints |
| Heating and Ventilation | Air vents, controls and advice for the climate system |
| Manual air conditioning | Temperature, air flow, distribution and on/off controls |
| Dual-zone automatic air conditioning | AUTO mode, Mono, recirculation and demisting controls |
To get the most from the PEUGEOT i-Cockpit layout, asks you to adjust your driving position in a set order before you set off.
Once you have done this, check that you can see the head-up instrument panel clearly over the small steering wheel from your driving position.
Manually-adjusted front seats
For safety reasons, only adjust the seats when the car is stationary.
Before moving the seat backwards, make sure nothing will stop it travelling fully. Take care not to trap or pinch rear passengers, and do not leave large objects on the floor behind the seat, as they can jam it.
For safety reasons, only adjust the seat when the car is stationary. To avoid draining the battery, make these adjustments with the engine running.
Before moving the seat backwards, make sure nothing will stop it travelling fully. Take care not to trap or pinch rear passengers, and do not leave large objects on the floor behind the seat, as they can jam it.
Memorising driving positions
The system stores the electrical settings of the driver's seat. You can store and recall two positions using the buttons on the side of the driver's seat.
An audible signal tells you the position has been stored. Storing a new position cancels the previous one.
Recalling a stored position
With the ignition on or the engine running, press button 1 or 2 to return to that position. An audible signal confirms when the adjustment is complete. You can stop the movement by pressing button M, 1 or 2, or by using one of the seat controls.
You cannot recall a stored position while driving, and recall is deactivated 45 seconds after you switch off the ignition.
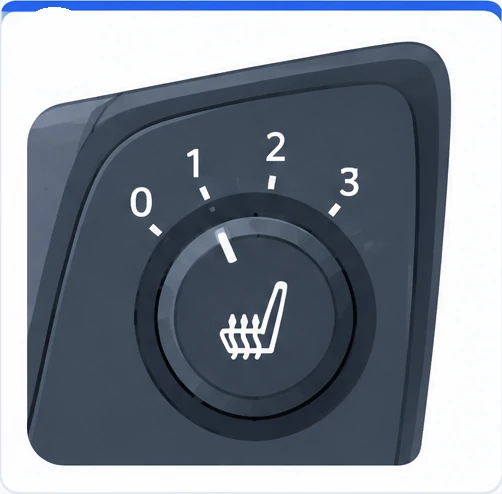
The heated seats only work with the engine running and when the outside temperature is below 20°C. Each front seat can be heated separately. Use the adjustment knob to switch on and choose the heating level.
Scroll the table sideways.
| Knob position | Setting |
|---|---|
| 0 | Off |
| 1 | Low |
| 2 | Medium |
| 3 | High |
Long use is not recommended for people with sensitive skin, and there is a risk of burns for anyone whose sense of heat is impaired, for example through illness or medication. To protect the heated pad and avoid a short circuit, do not put heavy or sharp objects on the seat, do not kneel or stand on it, do not spill liquids on it, and never use the heating if the seat is damp.
Steering wheel adjustment
For safety, only adjust the steering wheel while the car is stationary.
Each door mirror can be adjusted to give you the side and rear view you need for overtaking and parking, and both can be folded for parking in narrow spaces. The door mirrors are demisted and defrosted with the engine running when you switch on the heated rear screen.
Adjusting the door mirrors
Adjust the mirrors to reduce blind spots. Objects you see in the mirrors are closer than they appear, so bear this in mind when judging the distance of vehicles coming up behind you.
Folding and unfolding
If you fold the mirrors with control A, they will not unfold when you unlock the car, so pull control A again. A PEUGEOT dealer or a qualified workshop can deactivate folding and unfolding by remote control. If needed, you can also fold the mirrors by hand.
Rear view mirror
The rear view mirror has an anti-dazzle system that darkens the glass to reduce glare from the sun and the headlights of other vehicles.
Rear seats (hatchback)
The hatchback has a bench seat with a fixed one-piece cushion and a 1/3 - 2/3 folding backrest. Only the backrest folds, not the cushion.
When folding, do not fasten the centre seat belt; lay it flat along the backrest.
Take care not to trap the seat belts when you put the backrest back up.
The SW has a 1/3 - 2/3 folding bench seat. Each part has its own control in the boot, so you can fold it from the boot or from the rear doors.
Folding from the boot
Folding from the rear
Putting the seat back
Make sure you do not trap the seat belts and that their buckles are in the right place.
Outer rear head restraints
These have one position for use (up) and one for storage (down). They are removable and interchangeable. To remove one, pull it fully upwards, then press lug A. The centre head restraint cannot be adjusted. Never drive with the head restraints removed: they must be fitted and correctly adjusted.
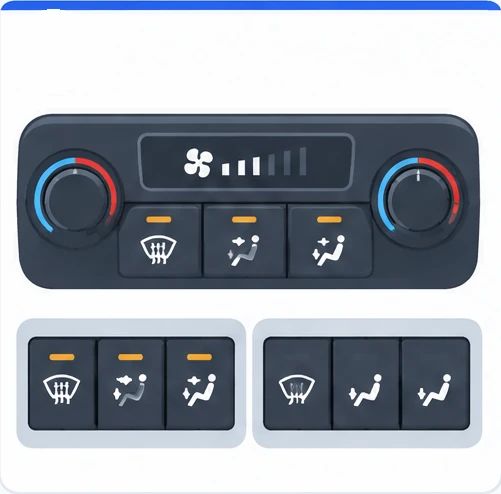
The air in the cabin is filtered. It comes either from outside, through the grille at the base of the windscreen, or from inside when air recirculation is on. Depending on the version, the controls are in the Climate menu on the touch screen or on the control panel on the centre console.
Scroll the table sideways.
| Number | Air outlet |
|---|---|
| 1 | Windscreen demisting/defrosting vents |
| 2 | Front side window demisting/defrosting vents |
| 3 | Adjustable and closable side air vents |
| 4 | Adjustable and closable central air vents |
| 5 | Air outlets to the front footwells |
| 6 | Air outlets to the rear footwells |
Advice
Avoid driving for long with the ventilation off or with air recirculation on for a long time, as the windows can mist up and the air quality gets worse.
Servicing
Keep the passenger compartment filter in good condition and have the filter elements replaced regularly. recommends a composite filter, whose active additive helps purify the air and keep the cabin clean by reducing allergic symptoms, unpleasant odours and greasy deposits. Have the air conditioning checked regularly.
Stop & Start
The heating and air conditioning only work when the engine is running. To keep the cabin at a comfortable temperature, you can temporarily deactivate the Stop & Start system.
The manual air conditioning works with the engine running. Press the Air conditioning menu button to show the controls page.
Avoid driving for long with the ventilation off, as the windows can mist up and the air quality gets worse.
The air conditioning works well in all seasons with the windows closed. It lowers the temperature in summer and makes demisting more effective in winter, above 3°C. It does not work when the air flow adjustment is inhibited. For cooler air sooner, use interior air recirculation for a few moments, then switch back to outside air. Switching the air conditioning off can lead to some discomfort, such as humidity and condensation.
The dual-zone system adjusts the air conditioning, vent temperature, air flow and air distribution automatically, based on the cabin temperature and your setting. The air conditioning works with the engine running, but you can use the ventilation and its controls with just the ignition on. Press the Air conditioning menu button to show the controls page.
Scroll the table sideways.
| Button | Function |
|---|---|
| 1 | Temperature |
| 2 | Air flow |
| 3 | Air distribution |
| 4 | Air conditioning on/off |
| 5 | Automatic comfort programme |
| 6 | Access to the second page |
Temperature
The driver and front passenger can each set their own value using buttons 1. The number shown is a comfort level, not an exact temperature. Try to keep the difference between the left and right settings to no more than 3.
Automatic Comfort programme
Press button 5 to switch AUTO mode on or off. When its indicator lamp is lit, the system manages the temperature, air flow and air distribution for the comfort level you have chosen. On the second page of the Climate menu you can choose how strongly it works. The current mode has a green indicator lamp.
These modes only apply in AUTO mode. If you switch AUTO off, the lamp for the last mode stays on, and changing the mode does not switch AUTO back on. In cold weather with a cold engine, the air flow builds up gradually to avoid blowing cold air. If the cabin is much colder or warmer than your setting when you get in, you do not need to change the value: the system corrects the difference itself.
Manual control
You can adjust the air flow and air distribution yourself while the system keeps control of everything else. As soon as you change a setting, the AUTO lamp goes off. Press AUTO again to return to the automatic programme.
Avoid driving for long with the ventilation off, as the windows can mist up and the air quality gets worse. The air conditioning works well in all seasons with the windows closed, lowering the temperature in summer and making demisting more effective in winter, above 3°C.
Ventilation with the ignition on
With the ignition on, you can use the ventilation to adjust the air flow and distribution for a time that depends on the battery charge. This does not run the air conditioning.
Mono function
From the second page of the Air conditioning menu, press the Mono button to link the passenger's comfort setting to the driver's. The lamp in the button is lit when Mono is on. It switches off automatically when the passenger uses their own temperature buttons.
Interior air recirculation
Taking in outside air stops the windscreen and side windows misting up. Recirculation shuts out outside smells and fumes and helps the cabin reach your chosen temperature faster. Press the recirculation button to switch it on or off; the indicator lamp confirms the setting. It switches on automatically when you engage reverse gear. Avoid using recirculation for long, as the windows can mist up and the air quality gets worse.
Front demisting and defrosting
With Stop & Start, STOP mode is not available while front demisting is on.
Rear screen demisting and defrosting
Rear screen demisting only works with the engine running. Switch it off as soon as you can, as using less current lowers fuel consumption.
This is condensation from the air conditioning running out underneath the car. this is perfectly normal.
The heated seats only work with the engine running and when the outside temperature is below 20°C. Check that the knob is not at position 0.
Switch on the ignition, adjust the seat, then press button M followed by button 1 or 2 within four seconds. An audible signal confirms that the position has been stored.
If you folded the mirrors with control A from inside, they will not unfold when you unlock the car. Pull control A again to unfold them.
Taking a few minutes to set your seat, steering wheel and mirrors in the right order, and knowing how the climate controls work, makes every journey in your Peugeot 308 more comfortable. Keep this guide handy, and for full details ask a PEUGEOT dealer or a qualified workshop.
For help with the lamps on your dashboard, see our guides to the Peugeot 308 red warning lights, the Peugeot 308 orange warning lights and the Peugeot 308 green and blue indicator lamps.
Don't forget to follow us on Instagram for more Peugeot guides!
This is an independent guide, not an official Peugeot publication. If in doubt, contact a PEUGEOT dealer or a qualified workshop before carrying out any work.
Related guides: Peugeot 308 model guides.
Cover adapted from a photograph by Vauxford — Wikimedia Commons, CC BY-SA 4.0 (AI edited).
Hello and welcome. In this article we look at the fuses on the Peugeot 308 III (2021-2025). We will cover who should change a fuse and what to know before fitting extra electrical equipment or accesso
Hello and welcome. In this article we look at the fuseboxes and fuses on the Peugeot 308 II (2015-present). We will cover where the fuseboxes are, how a fuse is changed and which functions each fuse p
Hello and welcome. In this article we look at bulb replacement on the Peugeot 308 III (2021-2025). We will cover which lamps are LED, where the front and rear lamps sit, the rear foglamp and reversing