Peugeot 5008 Fuse Box and Fuses (2017-present)
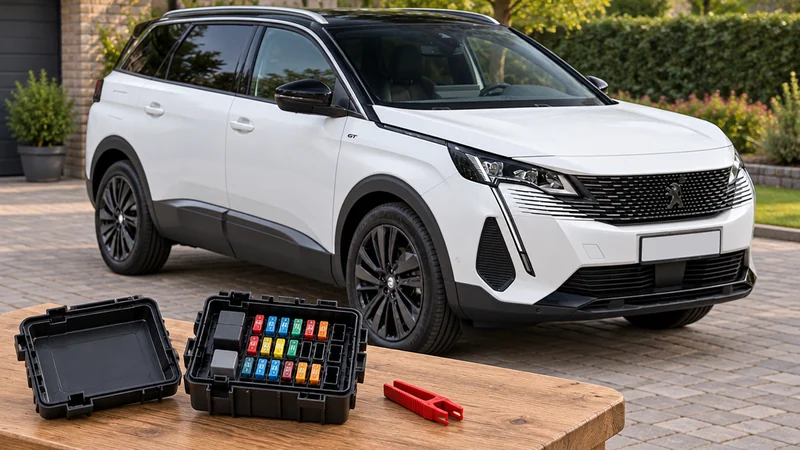
Hello and welcome. In this article we look at the fuseboxes and fuses on the Peugeot 5008 II (2017-present). We will cover where the two fuseboxes are, how a fuse is changed and which fuse protects wh
How to use the radio, DAB, USB, CD, Bluetooth streaming and hands-free telephone on the Peugeot 5008 II audio system, from pairing to calls.
Hello and welcome. In this post, we'll look at the audio system on the Peugeot 5008 II (2017-present). We cover the radio, DAB, USB, AUX, CD, Bluetooth streaming and the hands-free telephone.
Scroll the table sideways.
| Section | In short |
|---|---|
| Bluetooth audio system | Safety rules and battery-saving switch-off for the system |
| Radio | Choosing stations, RDS, traffic messages and radio text |
| DAB (Digital Audio Broadcasting) radio | DAB screen, presets, multiplexes and DAB/FM auto tracking |
| Media | USB, AUX, CD, MP3, Bluetooth streaming and Apple players |
| Telephone | Pairing, connections, calls, directory and voice recognition |
The functions and settings vary according to the version and configuration of your 5008. Keep these points in mind before you start.
Here is how to find a station and use the RDS, TA, INFO and radio text functions.
RDS, if activated, lets you keep listening to the same station by retuning automatically to alternative frequencies. Radio stations do not cover 100% of the territory, so coverage of an RDS station may not be assured across the whole country. This is why you can lose a station during a journey. Hills, buildings, tunnels and basement car parks can also block reception, including in RDS mode. This is normal and does not mean the audio equipment has failed. If RDS is not available, the RDS symbol appears struck out on the screen.
Short procedure: in “Radio” mode, press the OK button to activate or deactivate RDS directly. Long procedure:
The TA (Traffic Announcement) function gives priority to traffic alerts. It needs good reception of a station that carries these messages. When a traffic report is broadcast, the current source (Radio, CD, etc.) is interrupted automatically, then resumes at the end of the message. Press the TA button to activate or deactivate traffic messages. Take care if you turn the volume up during a TA message, as it may be too loud when the original source returns.
The INFO function also gives priority to TA alert messages and needs good reception of a station that transmits them. The current source (Radio, CD, USB, etc.) is interrupted for the message and resumes afterwards.
Radio text is information sent by the station about its current programme or song. To show it:
Depending on version, your 5008 has digital radio (DAB). It gives superior audio quality and extra categories of traffic announcements (TA INFO). The DAB screen shows:
If the current DAB station is not available on FM, “DAB FM” is struck out. When you change region, it is a good idea to update the list of preset stations. You can also display the full list of stations and “multiplexes”. Each “multiplex / ensemble” service offers its stations in alphabetical order.
With the station displayed on the screen, press OK to open the contextual menu. It includes Frequency search (RDS), DAB / FM auto tracking, RadioText (TXT) display and Information on the station.
DAB does not have 100% coverage of the country. When the digital signal is weak, “DAB / FM auto tracking” keeps you on the same station by switching automatically to the matching analogue FM station, if there is one. When it is active, the DAB station is selected automatically. To switch it on:
When the system switches to FM, there is a lag of a few seconds, sometimes with a change in volume. If the DAB station is not available on FM (“DAB/FM” struck out), or auto tracking is off, the sound will cut out when the digital signal is too weak.
You can play music from a USB device, the AUX socket, the CD player or your phone.
Insert a USB memory stick into the USB port, or connect a USB device with a suitable cable (not supplied). The system switches automatically to the “USB” source. Do not use a USB hub, to protect the system. Any device you connect must comply with the standard for that product and/or IEC 60950-1. At the first connection, the system builds playlists in temporary memory, which can take from a few seconds to several minutes. Fewer non-music files and folders mean a shorter wait. Playlists are updated each time you connect a new USB memory stick. A portable device connected to the USB port charges automatically.
The play modes are:
Use the track buttons to go to the previous or next track, and the folder buttons to go to the previous or next folder. To change how files are sorted:
To play files:
Depending on equipment, there is an AUX socket:
Do not connect the same device to the AUX socket and the USB port at the same time. Devices on the AUX socket must also comply with the product standard and/or IEC 60950-1.
Insert circular compact discs only. Some anti-pirating systems, on original or home-copied CDs, can cause faults that do not reflect the quality of the player. External CD players connected via the USB port are not recognised.
For an MP3 compilation, the system first searches for all the music tracks, which can take from a few seconds to several tens of seconds. The player can read up to 255 MP3 files spread over 8 directory levels on one disc, but keep to two levels to reduce the access time. The folder structure is not kept during playback: all files are shown on a single level. Use the folder buttons to choose a folder, the track buttons to choose a track, and LIST to display the directories.
Bluetooth audio streaming plays music from your phone through the car's loudspeakers, if your phone supports it. Sound quality depends on the phone's transmission.
Connect an Apple player to the USB port with a suitable cable (not supplied). Play starts automatically and you control it from the audio system. The classifications are those of the device (artists / albums / genres / playlists). The audio system software may not be compatible with your Apple player's generation. Genuine Apple USB cables are recommended.
Scroll the table sideways.
| Item | CD player | USB port |
|---|---|---|
| File extensions | .mp3, .wma, .wav, .aac | .mp3, .wma, .wav, .cbr, .vbr |
| Bit rate | 32 to 320 Kbps | 32 to 320 Kbps |
| .wma files | wma 9 standard | wma 9 standard |
| Sampling rates | 11, 22, 44 and 48 kHz | 11, 22, 44 and 48 kHz |
Pairing needs prolonged attention from the driver, so only do it with the vehicle stationary and the ignition on. Switch on your phone's Bluetooth and make sure it is “visible to all”. The services available depend on the network, the SIM card and the phone's compatibility, so check your phone's instructions and your service provider.
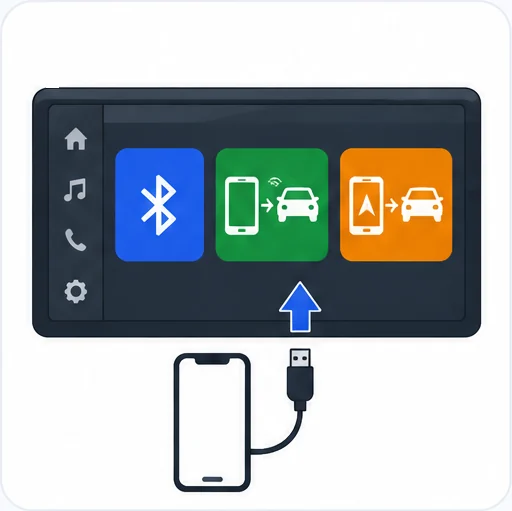
From the phone, simply select the system's name in the list of devices detected. From the system:
Whichever method you use, make sure the code is the same on the system and on the phone. If pairing fails, there is no limit on the number of attempts. A message on the screen confirms the pairing.
The “Telephone” menu gives access to “Directory” (if your phone is fully compatible), “Call log” and “View paired devices”. Depending on the phone, you may be asked to accept access to each of these. For more information on compatibility and further help, contact a PEUGEOT dealer or a qualified workshop.
The phone connection automatically includes hands-free and audio streaming. Whether the system can connect to just one profile depends on the phone, and both profiles may connect by default. To manage connections:
In the list, symbols show whether a device is connected, and whether the audio streaming or hands-free profile is connected. A number shows the profile: 1 for media or 1 for telephone, 2 for media and telephone. The options are:
An incoming call is announced by a ring and a display on the screen. Select the “YES” tab with the buttons and confirm with OK, or press the accept button on the steering mounted controls.
You can also press the steering mounted button for more than two seconds to open your directory, then navigate with the thumb wheel. To end a call, select “End call” in the “Telephone” menu and confirm with OK, or press one of the steering mounted buttons for more than two seconds.
During a call, press OK to display the contextual menu. Confirm each choice with OK:
If the connection was cut, it is restored automatically when you return to the vehicle and the sound goes back to the system, depending on the phone's compatibility.
To see your contacts, press and hold SRC/TEL, select “Directory” and confirm with OK. The system reads the phone's directory, depending on compatibility, while it is connected via Bluetooth. With some phones, you can send a contact to the audio system's directory. These contacts are saved in a permanent directory visible to all, whatever phone is connected. The directory menu is not available if it is empty. To edit saved contacts, press MENU, select “Telephone”, then “Directory management”. You can choose “Consult an entry”, “Delete an entry” or “Delete all entries”.
Voice recognition lets you use your smartphone's voice recognition through the system. It needs a compatible smartphone already connected by Bluetooth. Depending on your steering mounted controls, start it with a long press on the end of the lighting control stalk, or by pressing the voice recognition button.
With the car stationary and the ignition on, switch on your phone's Bluetooth, then press MENU, select “Connections” and “Search for a device”. Choose your phone from the list and make sure the code matches on both.
Radio stations do not cover 100% of the territory, and hills, buildings, tunnels and car parks can block reception. This is normal and does not mean the audio equipment has failed.
Via USB, the system plays .mp3, .wma, .wav, .cbr and .vbr files with a bit rate of 32 to 320 Kbps. Use only USB memory sticks formatted FAT 32.
To avoid discharging the battery, the audio system may switch off after a few minutes if the engine is not running.
Once your phone is paired and your favourite stations are stored, the audio system on your Peugeot 5008 is quick to use from the control panel and the steering mounted controls. Keep this guide handy, and for full details on any function, check the touchscreen menu.
For what the lamps on your instrument panel mean, see our guides to the red warnings, orange warnings and blue and green warnings on the Peugeot 5008.
Don't forget to follow us on Instagram for more Peugeot guides!
This is an independent guide, not an official Peugeot publication. If in doubt, contact a PEUGEOT dealer or a qualified workshop before carrying out any work.
Related guides: Peugeot 5008 model guides.
Cover adapted from a photograph by Alexander Migl — Wikimedia Commons, CC BY-SA 4.0 (AI edited).
Hello and welcome. In this article we look at the fuseboxes and fuses on the Peugeot 5008 II (2017-present). We will cover where the two fuseboxes are, how a fuse is changed and which fuse protects wh
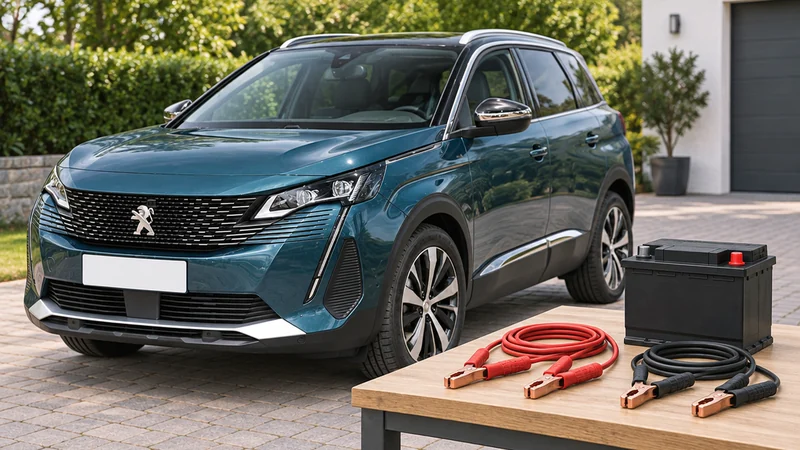
Hello and welcome. In this article we look at the 12 V battery on the Peugeot 5008 II (2017-present). We will cover safe handling, jump starting, charging, and disconnecting and reconnecting it, along
Hello and welcome. In this post we gather the technical specifications for the Peugeot 5008 II (2017-present). We'll look at engine and gearbox data, towed loads and nose weights, hybrid motor and bat